
Now Available! The Bandweaver’s Project Book
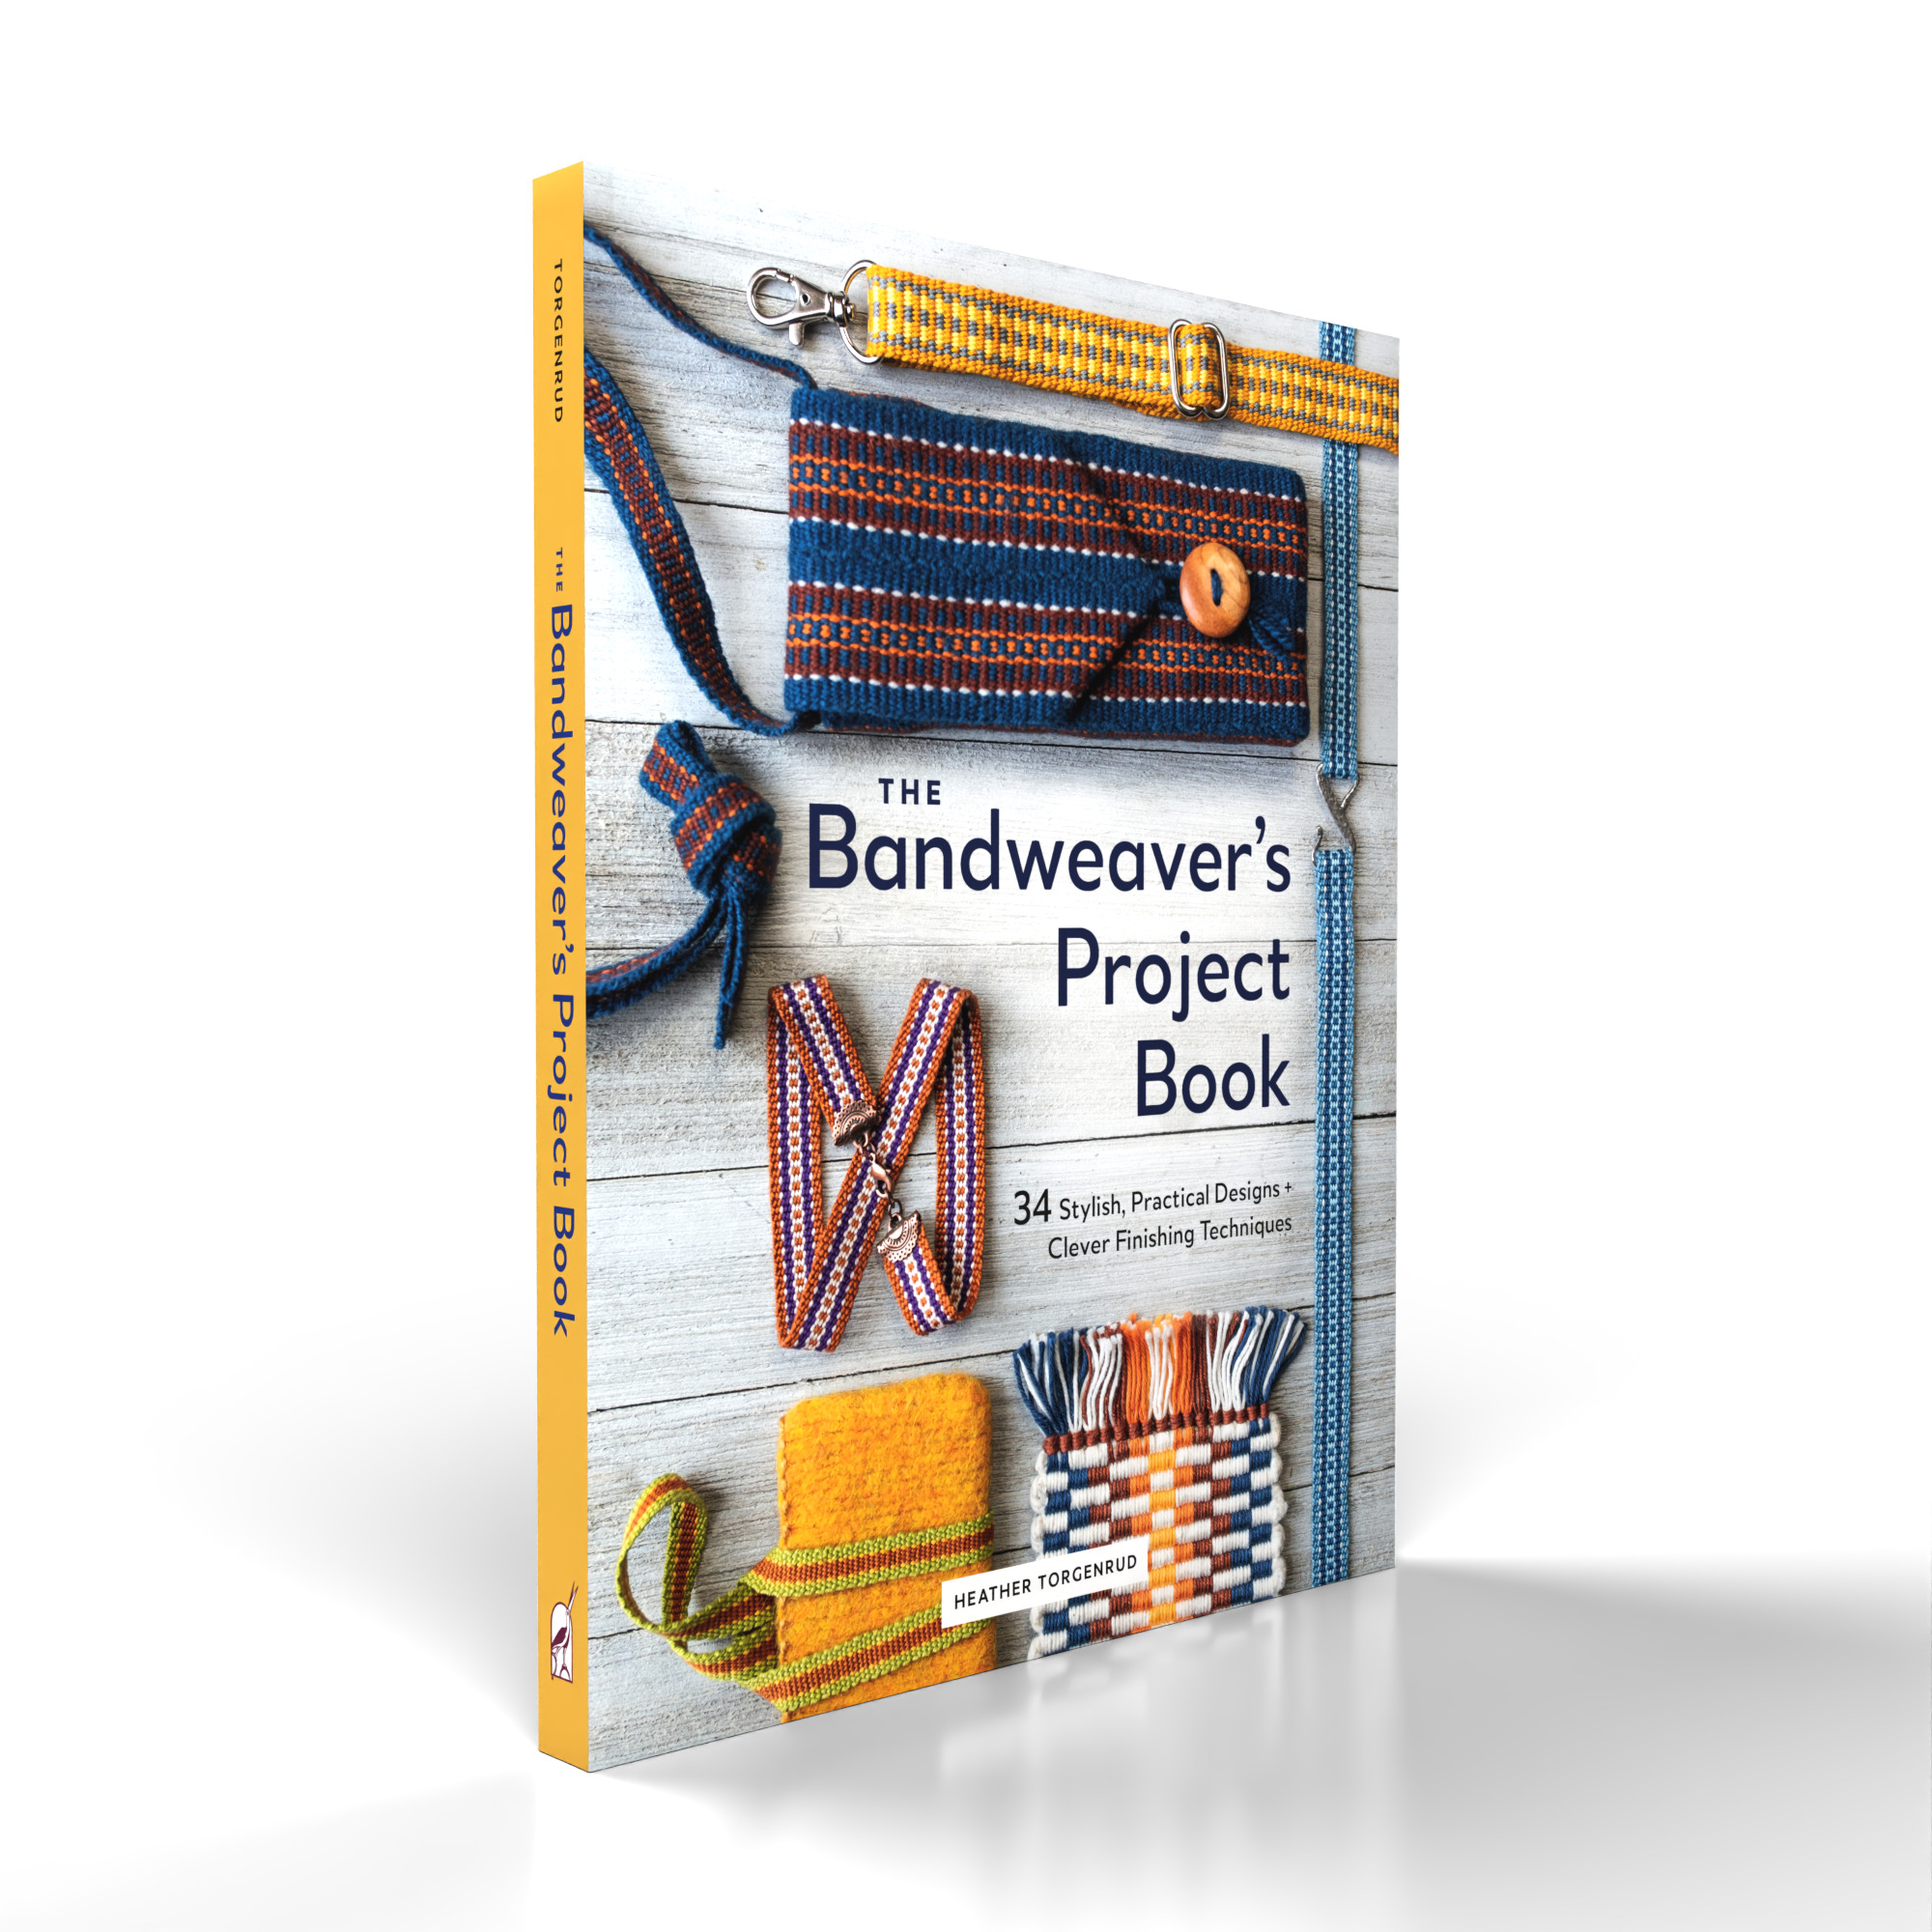
Thirty-Four Stylish and Practical Designs + Clever Finishing Techniques
The Bandweaver’s Project Book is now available in the U.S. and Canada, and will be available August 28, 2026 internationally. You can see the Contents and sample pages at the sites listed at the end of this post.
“From a simple few-inches-wide band comes an amazing variety of projects.” —Booklist
This is the book bandweavers have been asking for, and it’s jam-packed with possibilities. You’ll find a variety of projects with unique design details, full-page color photos, diagrams, and clear, concise instructions.
You’ll also find a complete library of finishing techniques designed to give polished results. This makes a handy reference, whether you’re following the project instructions or are inspired to design your own creations.
All the projects are shown in warp-faced tabby but could easily be adapted for pick-up or tablet weaving.
“Torgenrud shares her vast bandweaving knowledge and experience, letting her readers feel that she’s with us at every step—from start to elegant finish.”—Mary Lonning Skoy, Weaver, Instructor, and longtime member of the Weaver’s Guild of Minnesota
Find the book at Schiffer Publishing or on these retailer sites:
- Amazon (US)
- Barnes & Noble (US)
- Bookshop.org (US)
- Walmart (US)
- Amazon (Canada)
- Amazon (UK)
- Bookshop.org (UK)
Pick-Up Bandweaving Designs
My second book was released in 2024. Read the description below or click here to visit the book’s page at Schiffer and see the table of contents and other sample pages. Read reviews at https://norwegiantextileletter.com/article/bandweaving-book/, in the Fall 2025 issue of Little Looms magazine, and in issue Nr. 3 2025 of Väv Magazine.

A pattern and color sourcebook for weavers, featuring 288 brand new patterns for Baltic-style technique and 70 samples unleashing the power of color choices. A lifelong resource for pick-up bandweavers, this pattern and color sourcebook contains 288 new charts that can be mixed and matched creatively, plus photos of 70 woven sample bands that illustrate techniques to help weavers arrange their own colors beautifully. Here you’ll find :
- Designs for exquisite original bands woven in the Baltic-style pick-up technique found in many cultures.
- The tremendous variety that’s possible, even with narrow pick-up patterns that adhere closely to traditional design conventions.
- Practical color approaches specifically related to bandweaving.
- How the band design process works—with insights you can apply to designing your own patterns.
Whether you weave bands on an inkle loom, a Scandinavian band heddle, or even a floor loom, this go-to reference stands the test of time for ideas and inspiration.
Norwegian Pick-Up Bandweaving
My first book is still available at Schiffer Publishing, booksellers, and weaving shops. Read the description below or click here to visit the book’s page at Schiffer and see the table of contents and other sample pages. The book was reviewed in Shuttle, Spindle & Dyepot, Summer 2015, and Complex Weavers Journal, June 2015.

For the first time in English, a complete book about Norwegian pick-up bandweaving—from its fascinating history to beautiful bands you can make yourself, with more than 100 pattern charts from bands in museum collections.
- Part 1 tells the story of how these bands were used in the rural communities of 18th and 19th century Norway, as stocking bands, swaddling bands, sending bands, and more.
- Part 2 looks closely at twenty bands brought to America by Norwegian immigrants, and what they tell us about traditional patterns, colors, and materials.
- Part 3 has clear and concise instructions for weaving pick-up on simple, traditional band heddles, and these instructions can also be adapted to other kinds of looms.
Meticulously researched, easy-to-read, and profusely illustrated, this book is destined to become a classic in the field. It will interest not only weavers but anyone who appreciates textile arts, folk costumes, and Norwegian culture.
Swedish Pick-Up Patterns

This booklet is for weavers who know how to weave Baltic-style pick-up. It contains 65 pick-up patterns, charted from a traditional folk costume apron band from Orsa, a rural community in Dalarna County, Sweden. It also contains technical information on threading and following the charts. The patterns, which are separated by double horizontal bars, as you can see in the sample above, are presented in the order they appeared in the apron band. A few are duplicates, but those are also included in the order they appeared.
Update April 15, 2026:
This booklet has been out of print for a while, but I’m happy to announce that a second printing is now available, exclusively at the Vesterheim Museum Store. https://store.vesterheim.org/products/swedish-pick-up-patterns-by-heather-torgenrud?_pos=1&_sid=6bfc8f1a6&_ss=r
If you prefer a pdf format instead, please contact me. I’ll send you an invoice for $10 and email the pdf to you.
