
In the About Me photo, I’m wearing the handwoven wool weaving belt shown above. In this post, you’ll find instructions for this belt and for a quick-and-easy alternative made from cotton webbing.
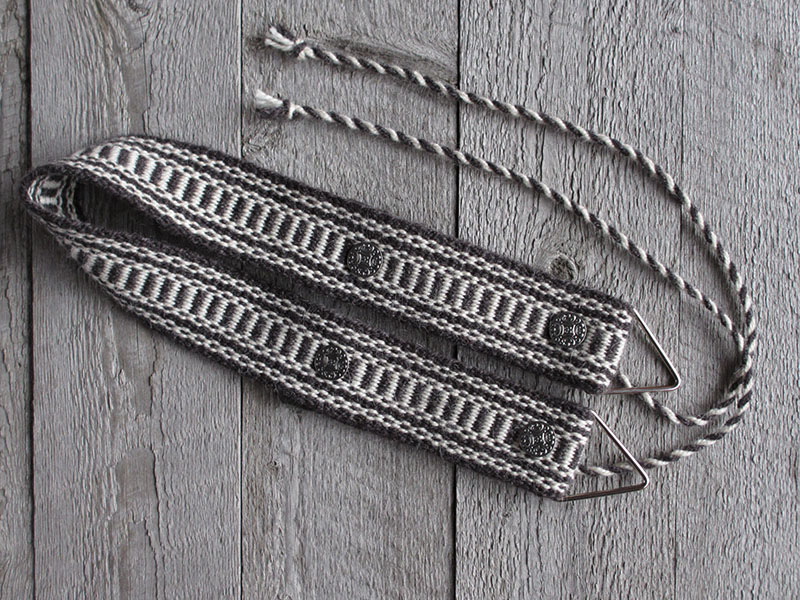
Weaving Belt in Black and White
I used wool for comfort and flexibility, and I chose an especially thick, sturdy wool for strength and durability. The metal rings at the ends make it easy to hook the band clamp to the belt, and ties keep it in place around my waist while I hook and unhook. I wove it on the inkle loom in warp-faced tabby.
- Size: My belt is 32″, including the rings at the ends. But even if you are a medium size like me, you might prefer a different length, depending on the kind of band clamp you use and the position you find most comfortable for weaving.
- Supplies: Sewing thread; wool felt for facing; four pewter shank buttons; two 2″ metal triangle rings (I bought mine from Strapworks in Eugene, Oregon).
- Warp yarn: Rauma Ryegarn rug wool, 75 meters per 100 grams, in heather black (color #516) and natural (color #501). I purchased one skein of each and had just enough of the black, so if you make a larger size or have a longer warp, you’ll need more.
- Weft yarn: Same as warp (black).
- No. of ends: 49
- Color order: See the warp draft below.
- Width: 2″
- Picks per inch: 5
- Length: My path on the inkle loom was 68″. Before washing, the woven length after it relaxed was 44″. After hand washing, and after the ends were trimmed, the woven length was 42″. The finished length of the belt is 28″ not counting the rings and 32″ counting the rings. (This allows for 7″ hems at the ends, which are held in place by the buttons.)
- Weaving: It was very difficult to get a shed with this rug wool in a warp-faced weave, but I love the thick and sturdy belt it produced. To weave, I pried apart each shed a few warps at a time. My normal beating technique, of rocking the shuttle against the fell as though to scoop it out, was not successful, so I beat with the tips of my fingers, poking them hard against the fell inside the shed.
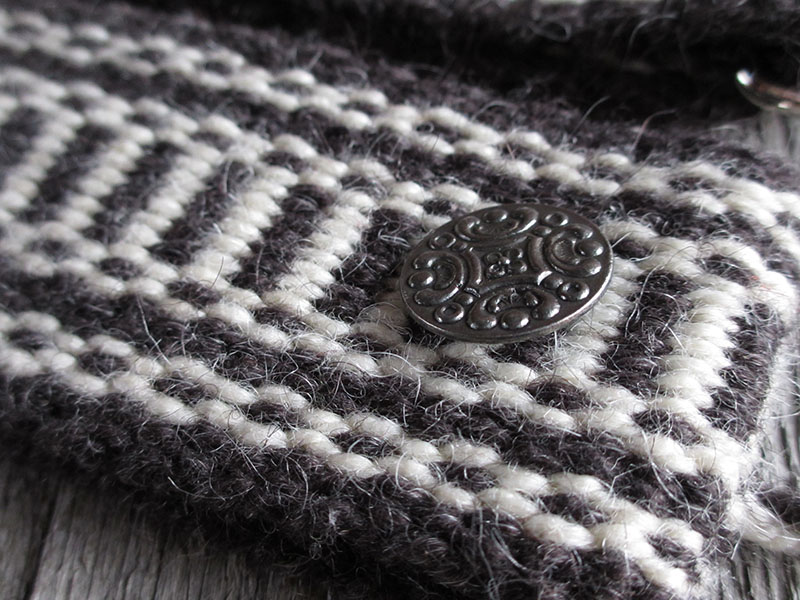
- Finishing: Straight stitch with the sewing machine across each end of the band in a valley between two weft shots. Cut two rectangles of wool felt, slightly wider than the band and about 3″ high. Fold the wool felt over the ends of the band and hand stitch in place. Fold under the band at each end to achieve the desired length, encasing the rings in the hems. Anchor the hems in place by sewing the buttons on (the buttons nearest the ends are attached using the ties—see next step).
- Ties: For each tie, cut two 54″ lengths of yarn. With a tapestry needle, thread the strands from the underside through both layers of the belt, through the shank of the button, and back through both layers to the underside of the belt. Even up the ends so you have four 27″ ends of yarn extending from the button on the back of the belt. Twist a cord by your preferred method and tie an overhand knot in the end to secure it. I made my ties with a fringe twister and their finished length is 20″.
Warp Draft

Read the draft from left to right through the center and then from right to left. The two rows on the draft represent the two threading positions on the loom, which in my case were open and heddle on the inkle loom.
Back View

Quick & Easy Weaving Belt in Cotton Webbing
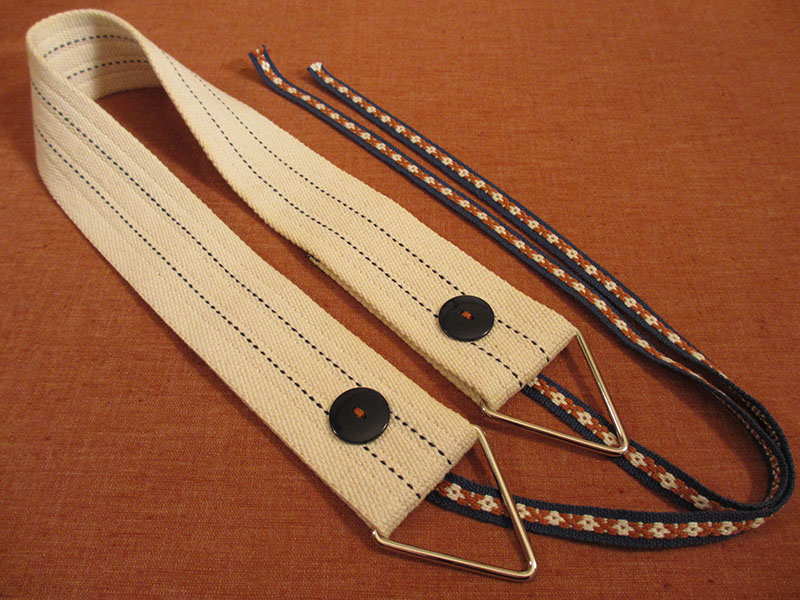
- Supplies: 2″-wide heavy-duty cotton webbing (as is used for furniture moving; I bought mine on Etsy); sewing thread or perle cotton for attaching the buttons; iron-on denim patch material for the facing; two buttons; two 2″ metal triangle rings (I bought mine from Strapworks in Eugene, Oregon); two lengths of woven ribbon about 20″ long. My ribbons are pick-up-woven in 5/2 perle cotton, UKI natural #79, navy #15, light rust #108. The step-by-step instructions for these ribbons are on pages 122-126 of Norwegian Pick-Up Bandweaving.
- Preparation: Hand wash the webbing to pre-shrink it. Cut it to the length you need, allowing at least 4″ at each end for the hems.
- Assembly: Cut two 2″ circles from iron-on denim patch material. Fold the circles in half, encase the ends of the webbing, and iron the facing in place to keep the webbing from raveling. Fold under the ends of the webbing, encasing the rings in the hems. Before you anchor the hems in place, machine stitch the ribbon ties to the underside of the hem. Sew the buttons on to securely anchor the hems.

Leave a reply to Jean Flores Cancel reply